The Infused Classroom Blog
How to Use Canva in the Classroom
Share Post
Many teachers have heard the great news that Canva is now FREE for educators and their students! So, let's get down to how to use Canva specifically in the classroom, by better understanding the specific educator tools.
In this post, we will look at the Classwork and The Classroom Team Area.
How to Use Canva in the Classroom:
Classwork and Send to Teacher
What is Classwork?
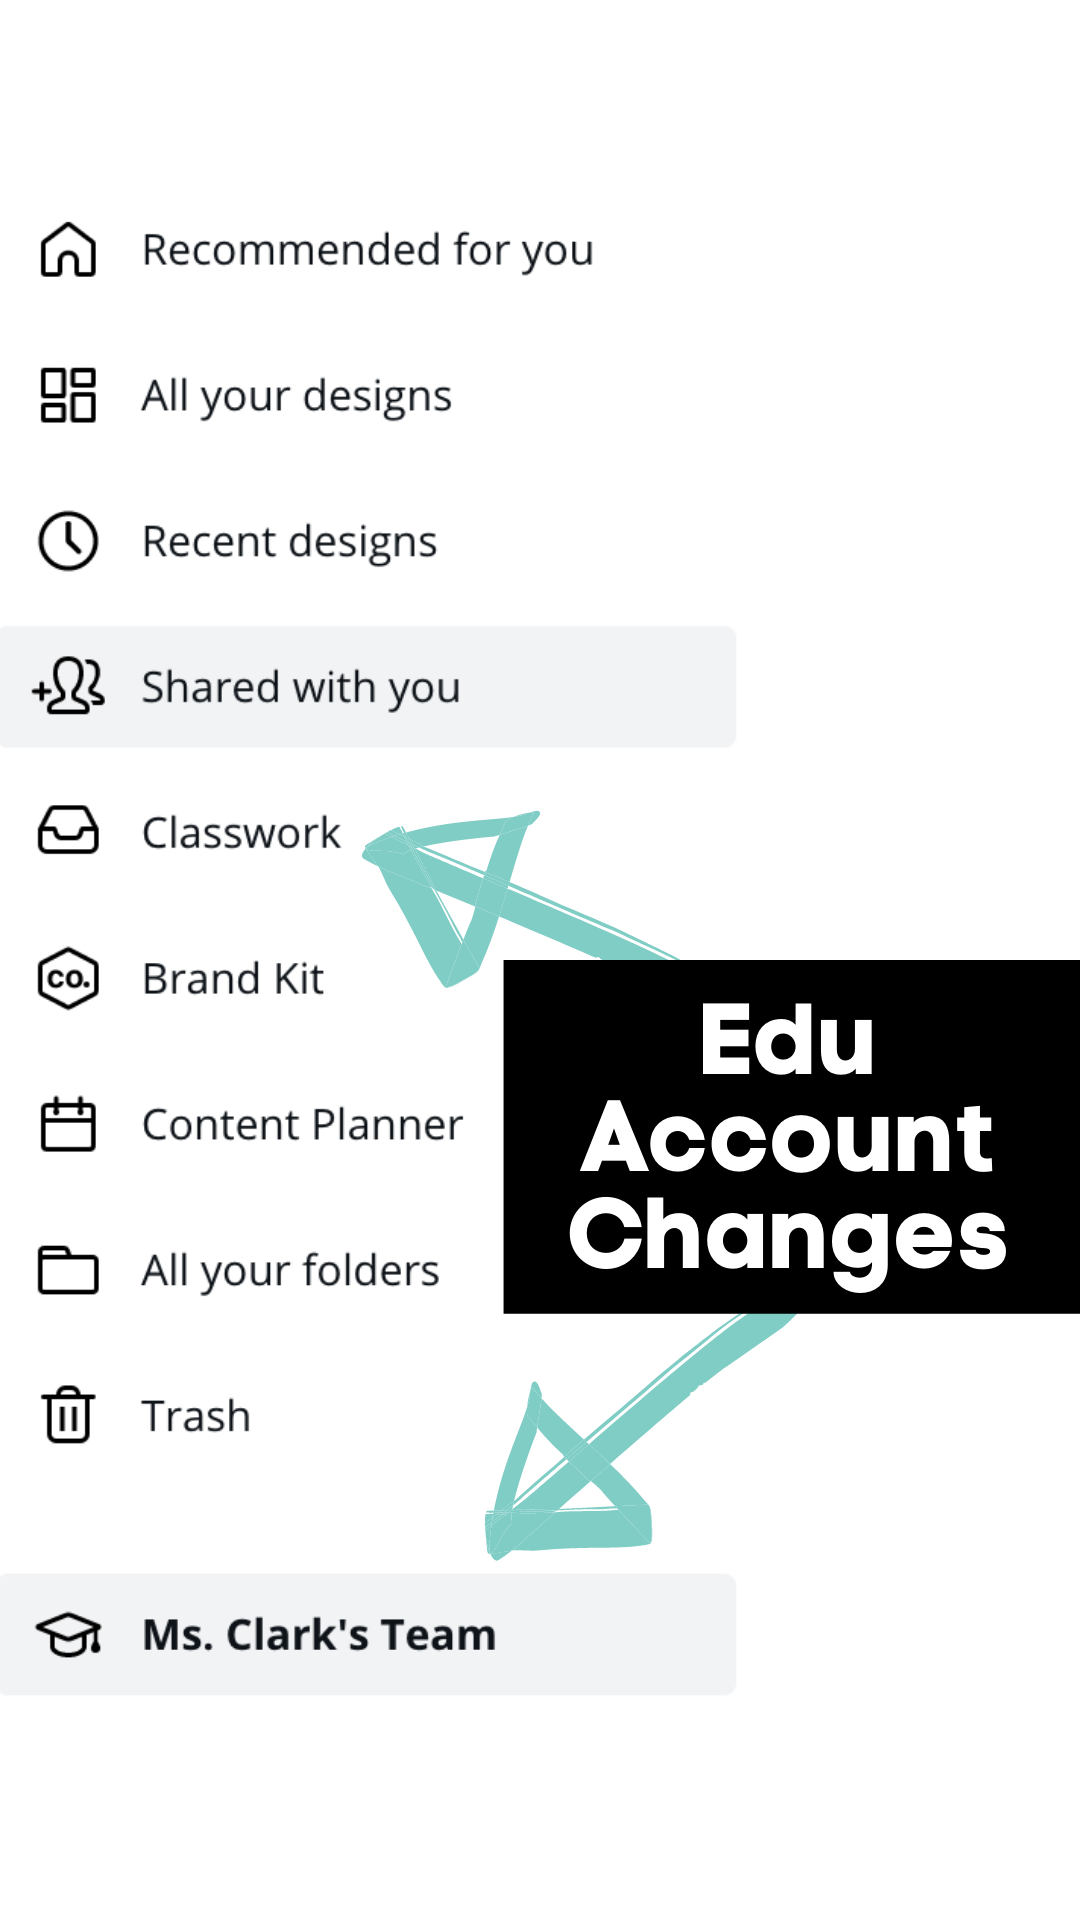
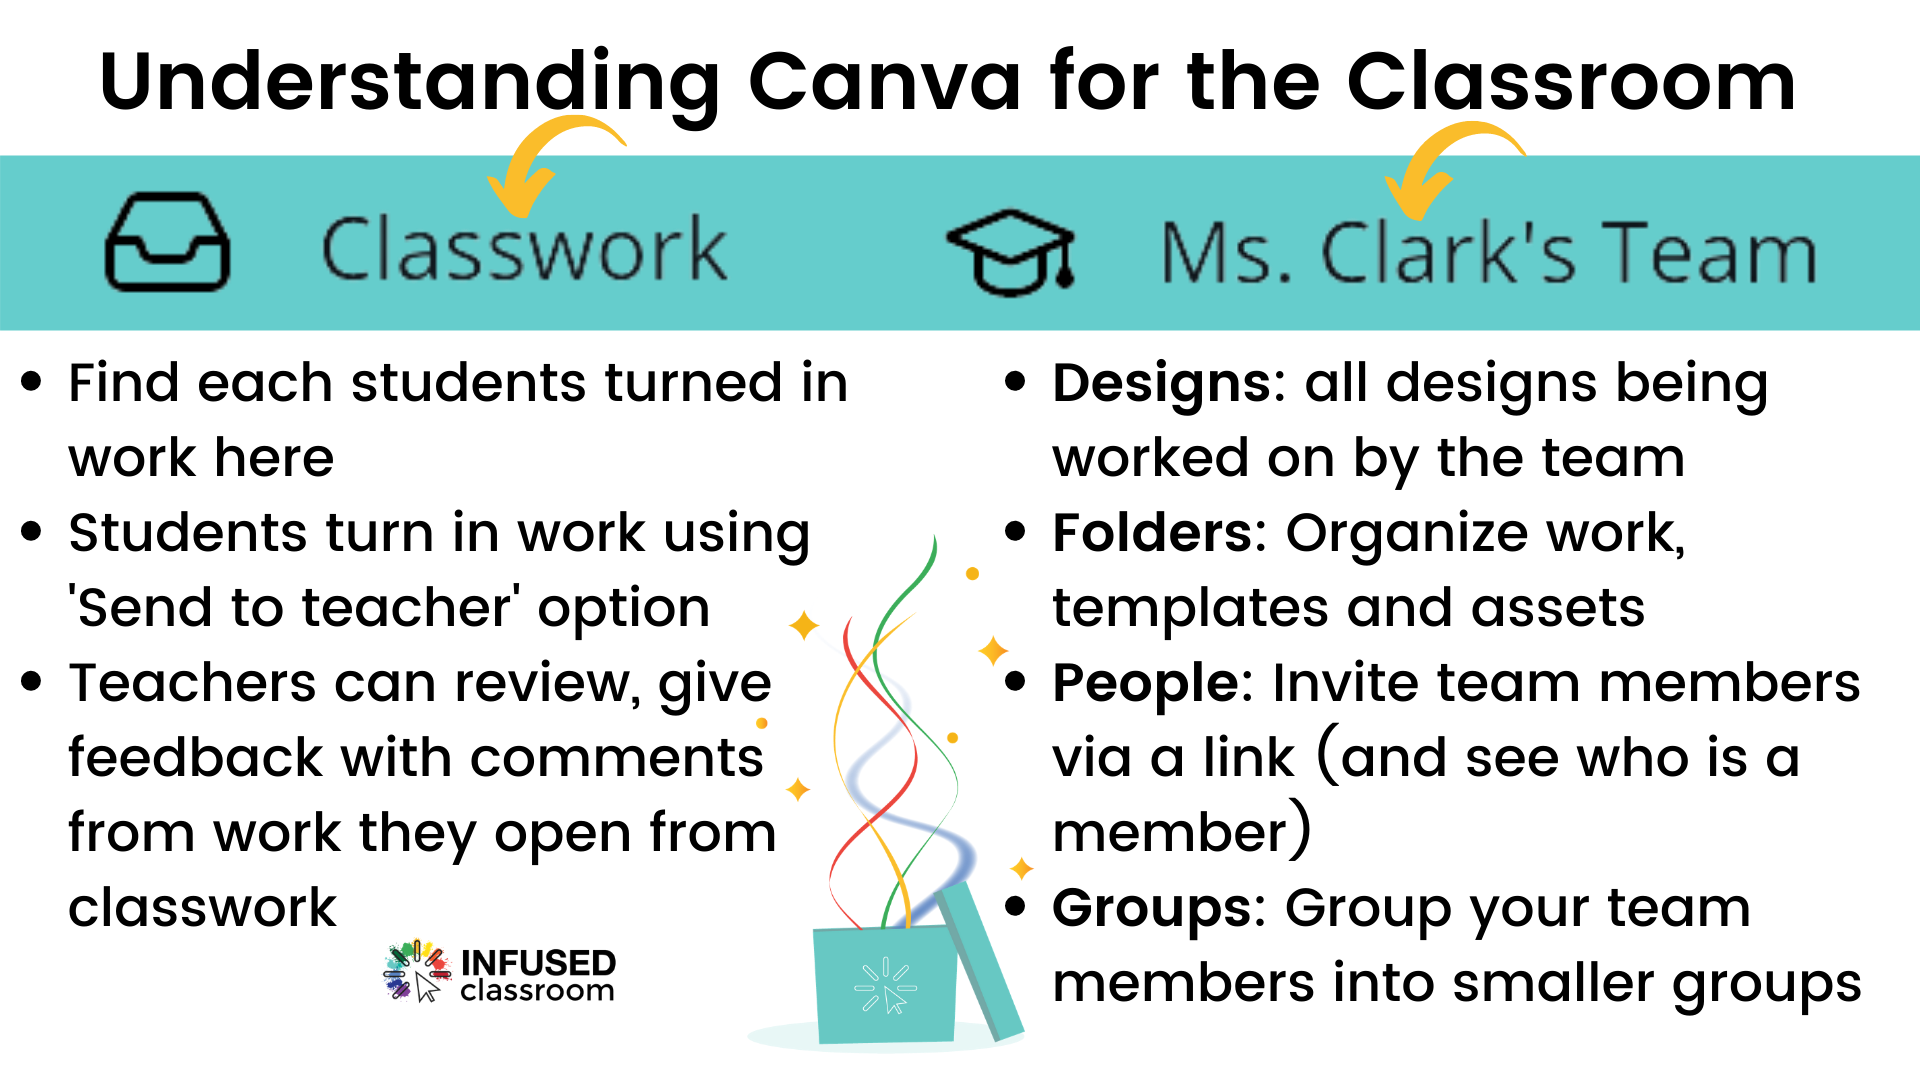
Once approved you will also then see a new navigation button, on the side panel, called Classwork. This is where you will find all the student work that they have submitted for review or feedback. Students might submit work in the draft stage or the final stage - or both.
How Students Submit Work to Classwork - Using Send to Teacher
To submit work, students simply select the ‘Send to teacher’ button in the top right-hand corner and next by choosing the teacher from the dropdown menu and by clicking ‘send’. Pretty easy.
🚀PRO TIP: It is important to tell students not to share anything to the entire team. Instead they should ‘send to teacher’. If they share with you it won't go to classwork. Sharing is not the right way to do it in Canva, but students are often confused because Google taught them differently.
💥 Check out THE NEW Mini Course: How to Use Canva in Your Classroom 💥
How to Use Canva in the Classroom:
The Team Dashboard
If we look back to the right hand side panel, find your team near the bottom. Again mine is called ‘Ms. Clark’s Team,’ and by selecting this - you will see your team area. In this tool section, there are six options listed below.
With Canva students and teacher can collaborate together on any design. They can leave comments and even edit an image together.
Here is what they do, and how to use them.
👉🏼The Designs Tab👈🏼
What is Designs For?
In this area you will find designs and templates shared/published to you to your your team. It also includes - and this is important - those “shared” by students or team members to the entire team (NOT those turned in by students via "send to teacher'). It is also important to remember, that your designs, and students, are always private, unless you explicitly choose to share them or save them as templates for your team. This is why understanding the difference between the 'Share' button and "Send to teacher' button is important.
What Goes in the Designs Area?
The design area is a place where all recent shared designs and saved templates go, and for this reason it can get cluttered quickly. Think of this area as your shared teams designs so you can easily view what you are presently working on and an easy way to locate recent designs being done by the team.
PRO TIP: Use the three dots in the upper right hand corner of the graphic (scroll over it will appear) and select 'Move to Trash' when done with the graphic to declutter this area. If Move to Trash is not an option it is owned by someone else on team and they will have to delete it.
👉🏼The Folders Tab👈🏼
What are Folders?
This is where the teacher can organize work and assign templates. Here you can create folders based around a period, unit or assignment. You can then share those folders with students, groups or the entire team. You can even create folders for individual students, if you want a way to organize student work. My preference would be to organize by subject because as a middle school teacher I have way too many students for them each to have their own folder.
PRO TIP: A Teacher can also upload a graphic here they want students to use - that is outside of the Canva provided graphics.
How to Create a New Folder
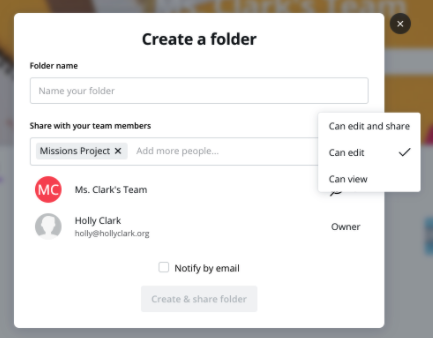
To create a new folder, select Folders, and then head to the top right hand corner and chose the three dots, from the drop down menu and then ‘Create New Folder.’ Name the folder and then share it either with the entire team, certain students or with a group.
IMPORTANT: By default, it is set to can edit. It is a good idea to chose ‘Can view” so anything placed in there must be copied and worked on from there. In the default mode, all students will be able to edit one template and you may not want that.
💥 Check out THE NEW Mini Course: How to Use Canva in Your Classroom 💥
😢 The Templates Tab 😢
As of May 24, 2021 this tab does not seems to populate with templates.
😢 The Apps Tab 😢
This is not something many teachers would use. Students can create apps for review by Canva, but only .00001% of teachers might ever use this.
Note: This option is not even in the student dashboard.
👉🏼The People Tab👈🏼
What is in People Area?
This is where you can see who is part of your team.
You can also invite people to your team here via a link you can share just about anywhere. Once students click the link it adds them to your team.
Note: It says you can download students from Google Classroom, but no teacher I know has been able to make this work. So many have used the link option to share in Stream and have students join their team from that link.
👉🏼The Groups Tab👈🏼
What are Groups?
In this area, you can create Groups of students - for working together or for working on a particular subject. You can make them for any purpose, and you can delete them when you are done, or add more members as you go. Simply choose the three dots in the lower left hand corner of the group to get these options.
How to Create Groups
To create a group, simply choose ‘Create Group’ on the left hand dashboard of the area. Then select the students you want to add to the group. You can then share designs and templates with that group directly .


